Our daughter finally outgrew her crib. We definitely had to think of shifting her to her room, in her own bed.
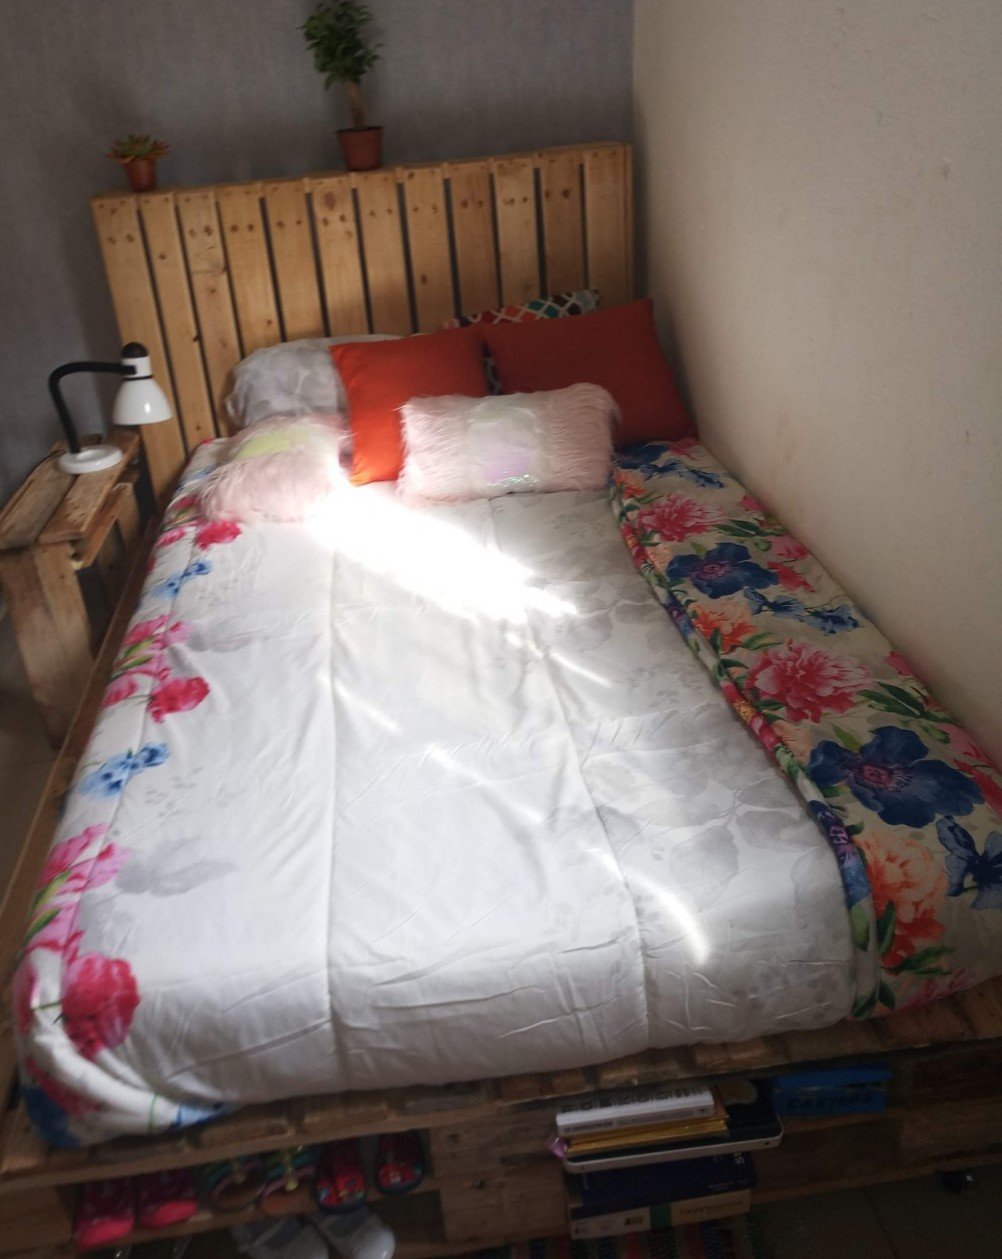
Being a lover of simplicity and everything in moderation, we decided to repurpose the lot of old pallets that had been laying on the shed for over six months. We made her a pallet bed.
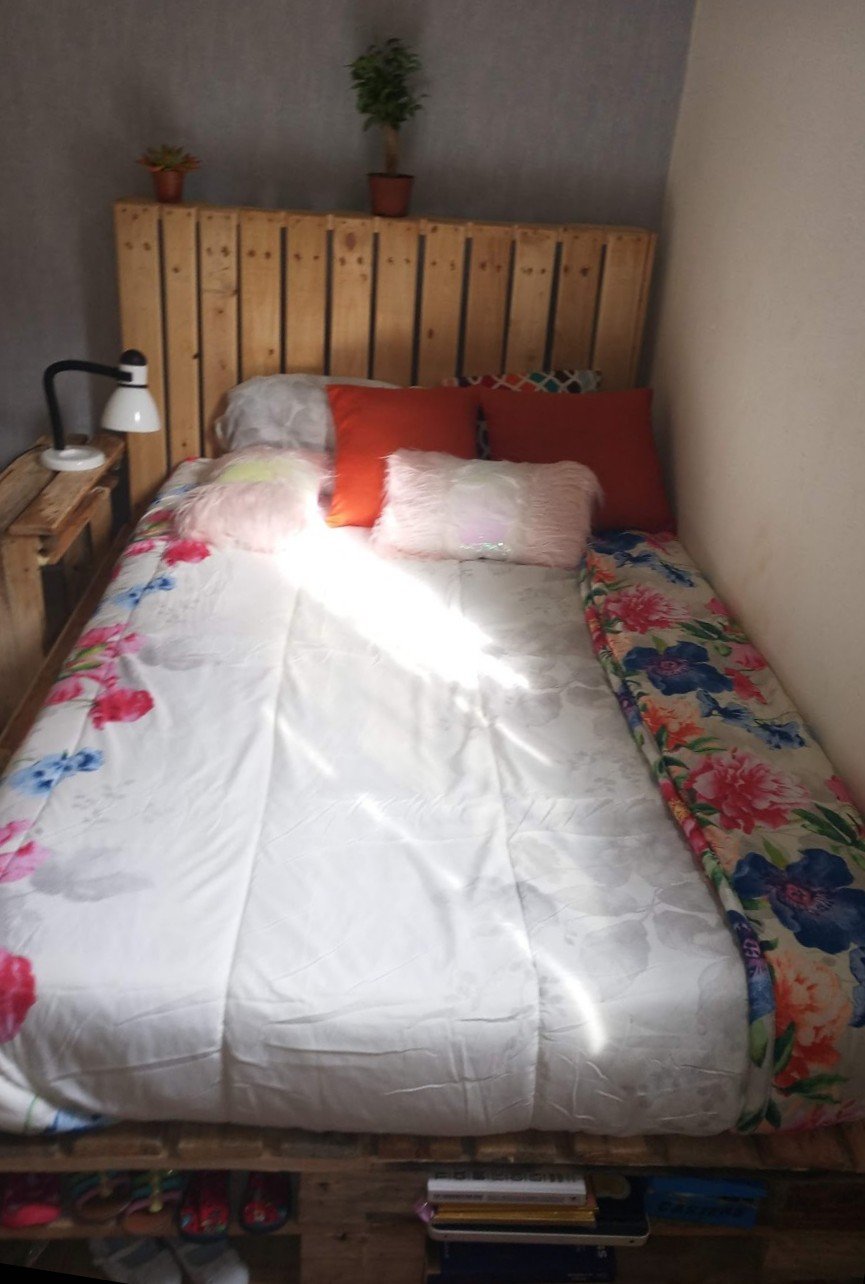
A pallet bed is a simple, inexpensive option for a nice looking set up that won’t cost the earth, or anything at all actually. Free bed basically!
Pallet furniture however, is not for the lovers of sophistication…. It’s for those that have an eye for simple, artistic, rustic or vintage look of things.
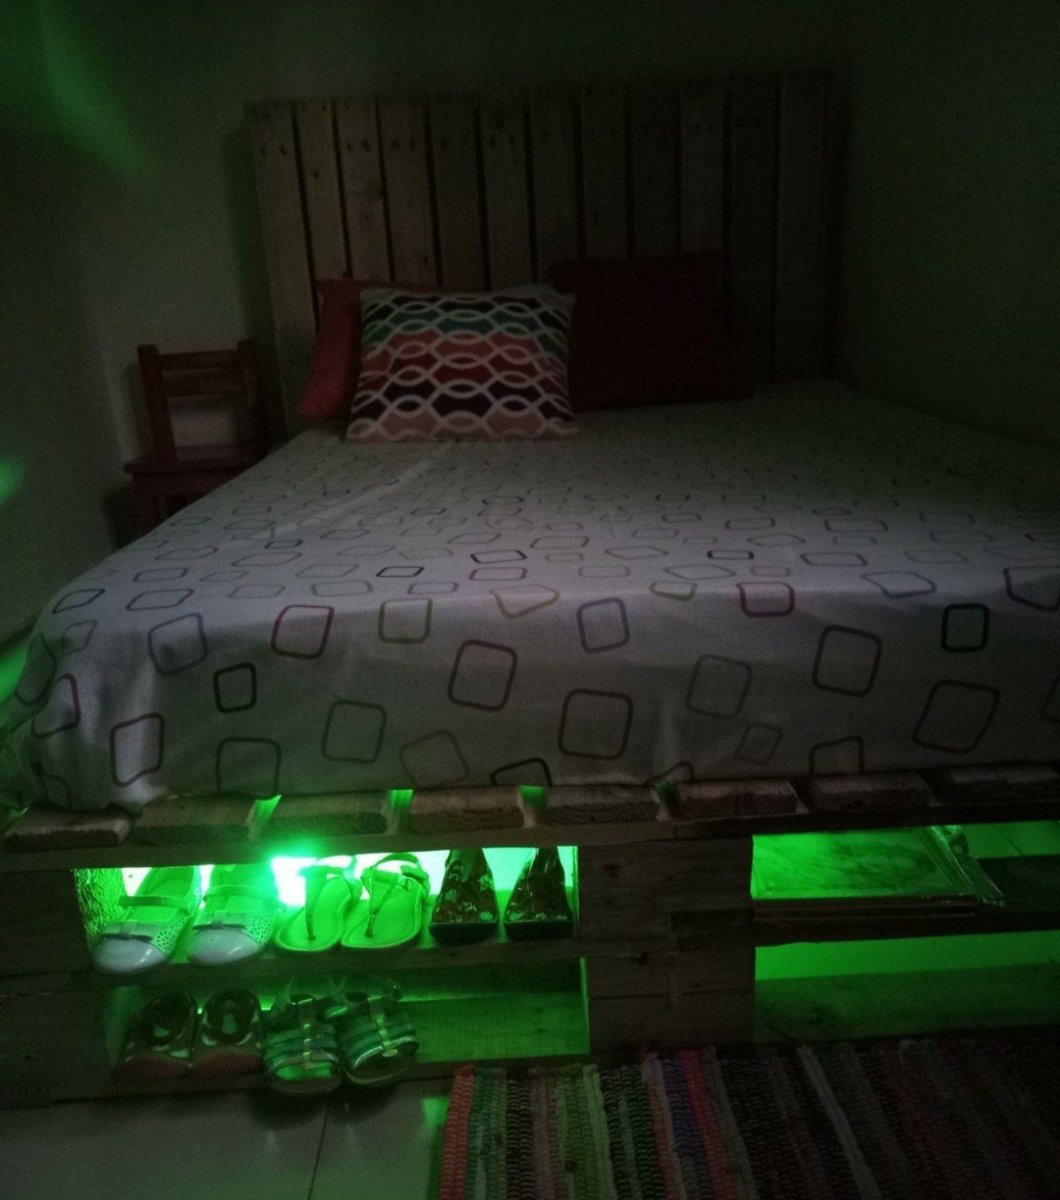
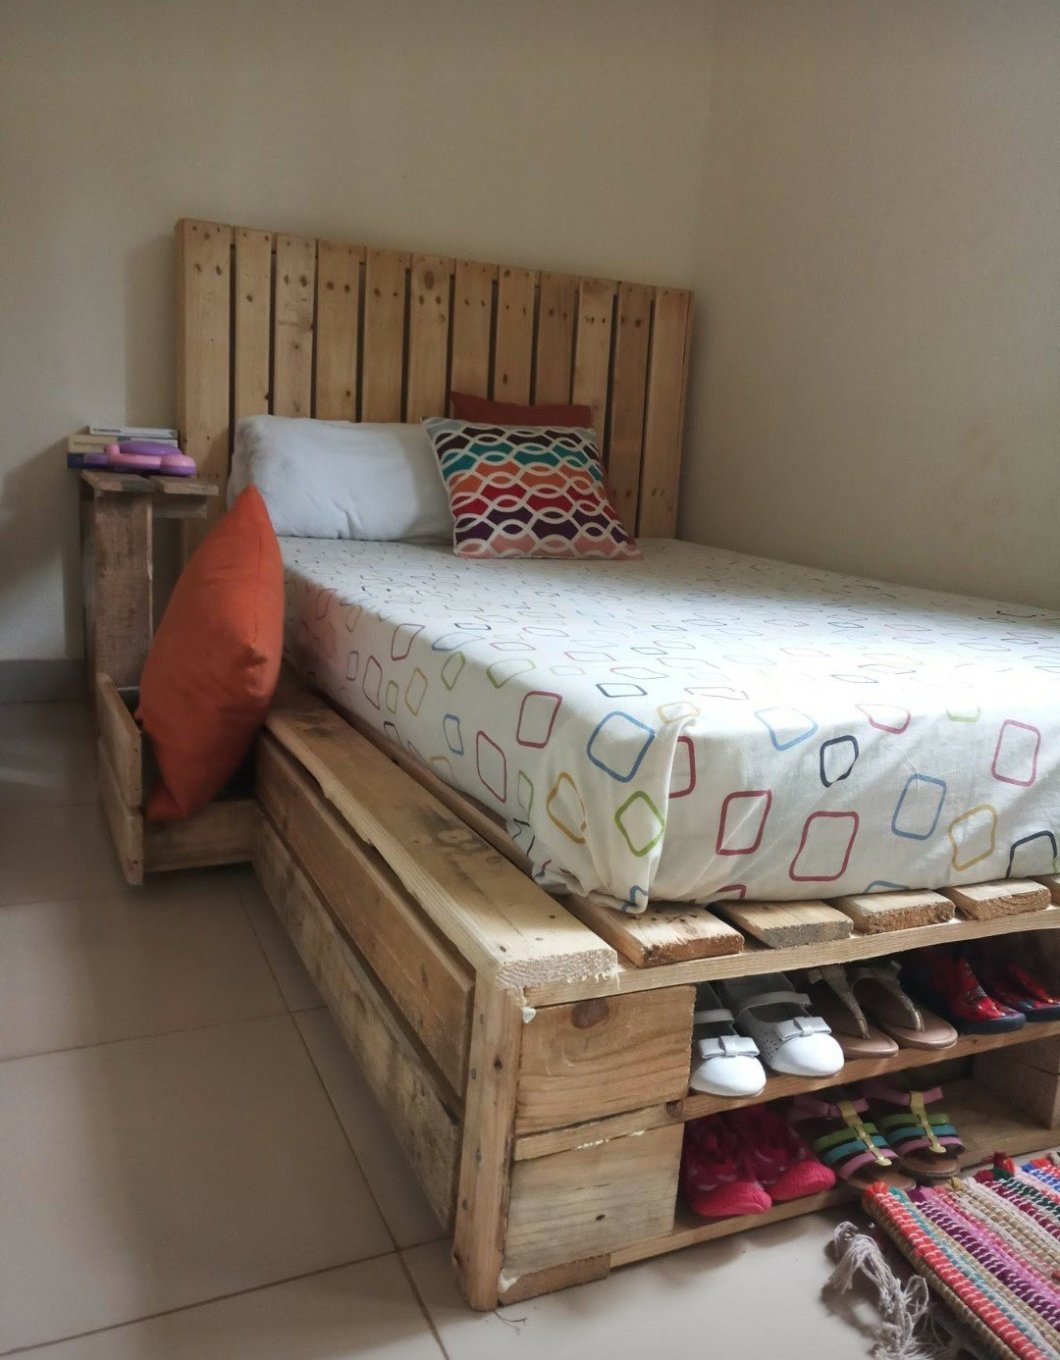
The picture we had in mind for Pfavonour’s bed was a movable close to the floor bed with storage cabins.
One she could climb in and out of by herself, with just a small shelf with a few activities she could quietly play with when she gets up. One she could make daily by herself. One that could give her the independence to learn how to be responsible for caring for herself, others and the environment.
The stepwise process:
- Pick out pallets of similar dimensions. We used 3 standard size pallets for the bed frame and 1 for the head board.
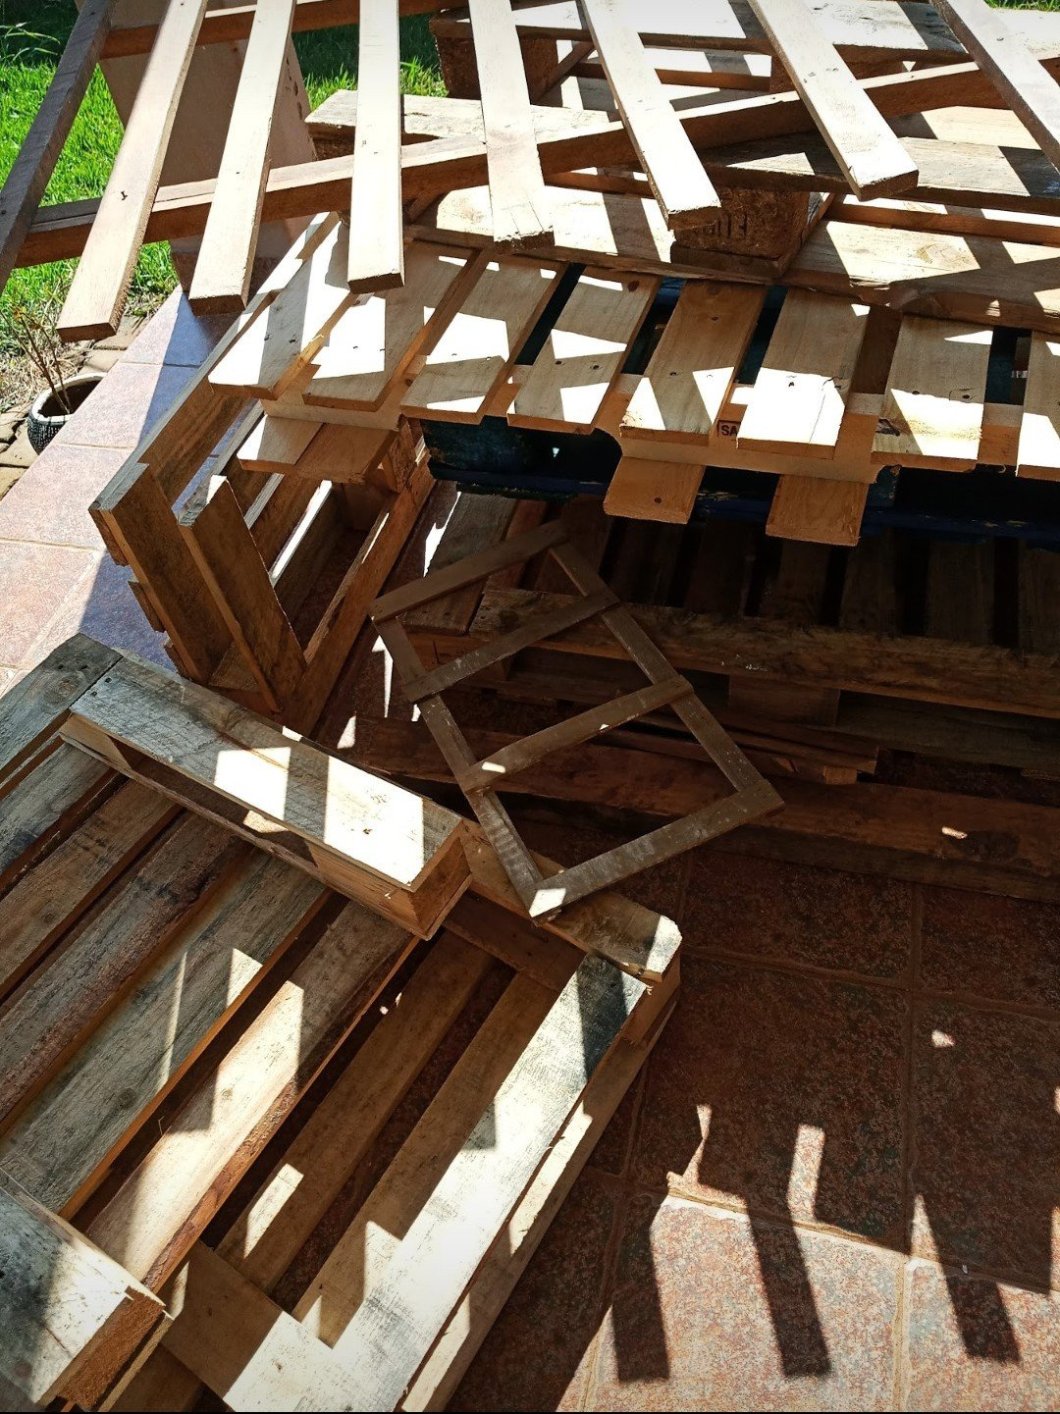
- Sand the wood to smoothen it out nicely.
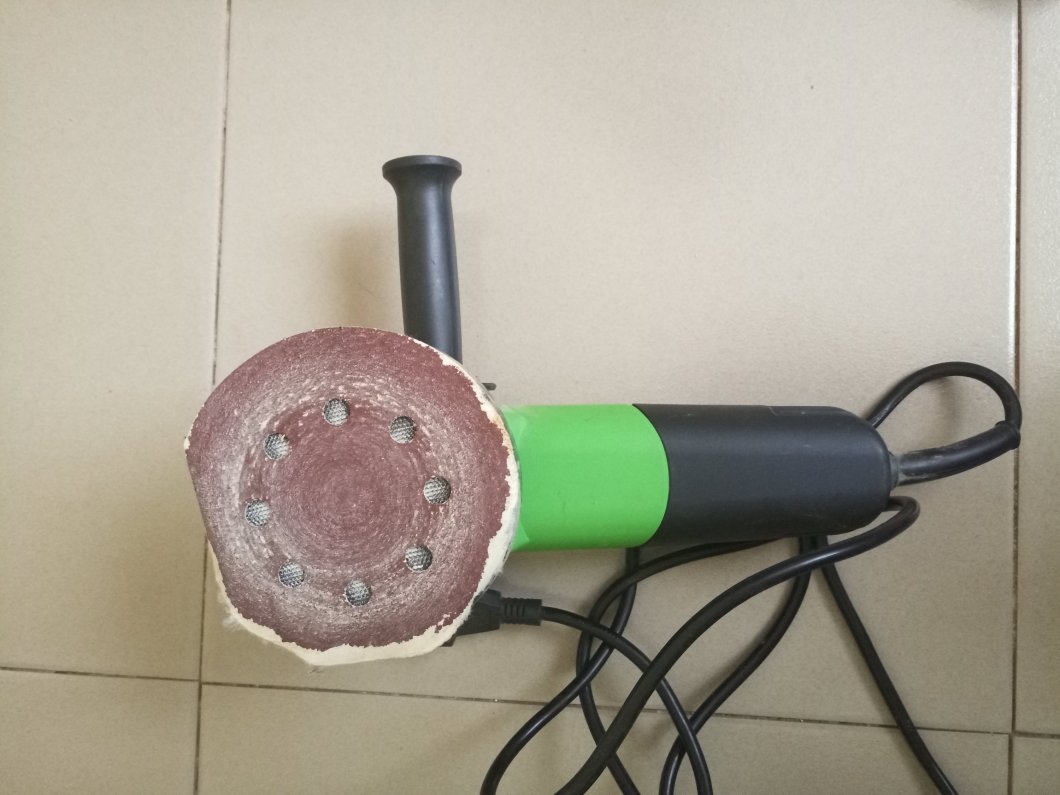
- Fill up any cracks with wood filler and sand it out again well to a smooth shiny finish.
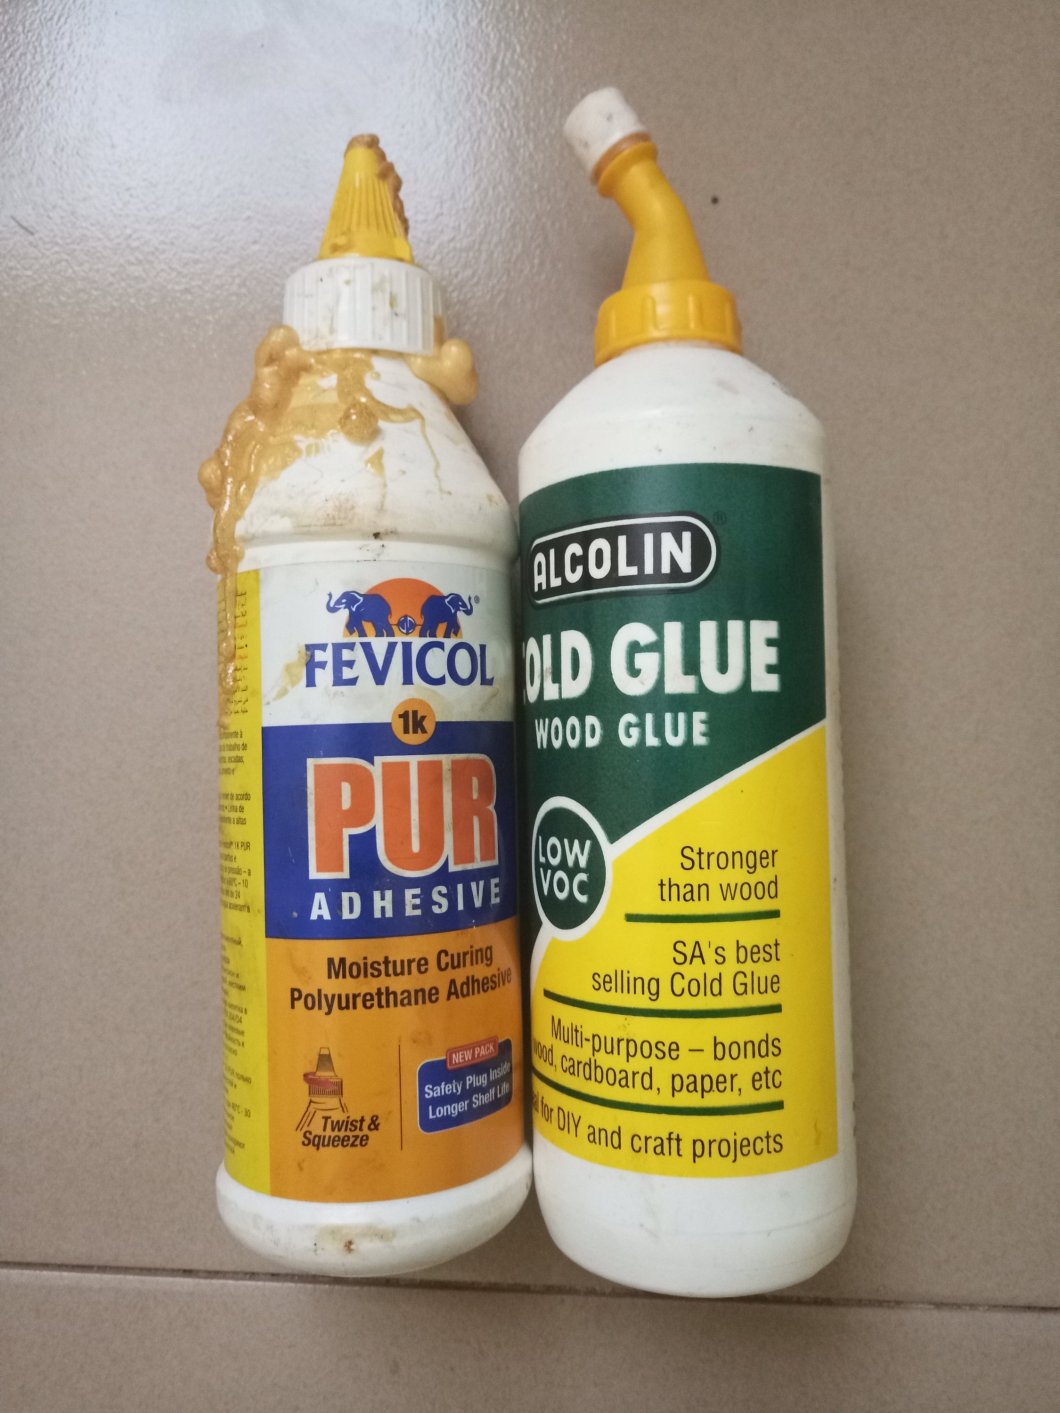
- Align and Join up the bed frame wood to the head board using wood glue and adhesive mixture, and let it self-dry in the sun for two days.
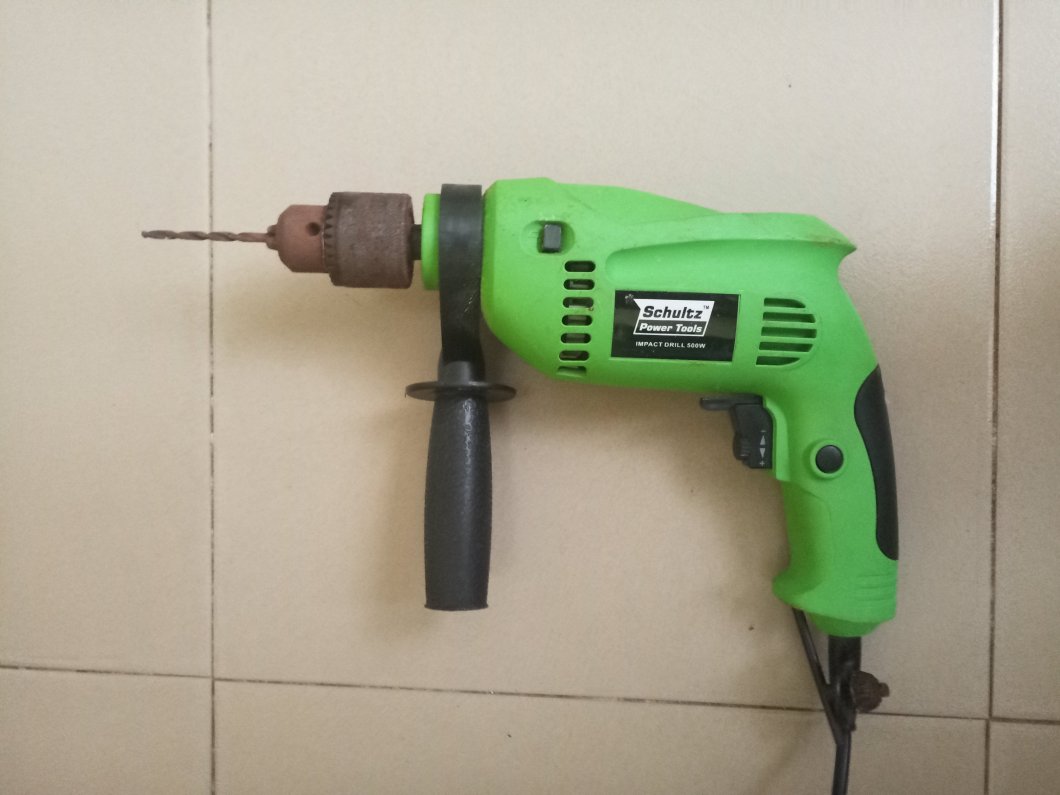
- Drill in your screw nails for a firm finish.
- Drill in your casters to allow bed to roll.
- At this point, feel free to vanish or paint the bed any color of your choice.

The under bed storage cabins and side desk were separately done and fixed.
This entire project took us three weekends. Quite adventurous and worth it.
We purchased a big box of screw nails for 15,000 UGX, Sand paper sheets at 10,000, Strip of LED lights at 10,000 UGX, a box of medium size casters for 30,000 UGX and wood glue at 10,000UGX.
How would you upcycle pallet pieces?

